An unorganised car does not fail all at once. It fails in small humiliations: the leash slides under the passenger seat, the bowl is damp and has been damp since August, and you discover the towel at home. The fix is not buying more organisers. It is deciding, once, which zone things belong to — and then never deviating.
Outdoor gear has a habit of multiplying. A simple walk becomes a day with water, layers, snacks, towels, a first-aid kit, dog food, bowls, leashes, toys, and a muddy pair of shoes. In a vehicle, disorganization is not just unattractive. It makes essential items harder to reach, increases the chance of leaving something behind, and turns every transition into a full unload.
The answer is not necessarily more storage products. The better starting point is a clear system based on how you use the vehicle. Keep essentials accessible, group items by activity, protect clean supplies from wet gear, and make the loading pattern easy enough to repeat when you are tired. Include the pet’s needs from the beginning rather than adding them to whatever space remains.
This guide is written for US-based vehicle owners who combine outdoor time with pet travel. Vehicle layouts vary, as do product dimensions and equipment instructions. Use this as an organization framework, not as a promise of fitment, capacity, safety performance, or a substitute for your vehicle manual or the instructions for any accessory.
Design the System Around Real Moments
List the moments that happen on a typical outing
Before choosing containers, write down the moments you need to support. You may need to grab a leash at a trailhead, serve water at a roadside stop, change shoes after rain, retrieve a jacket, or store a dirty towel after wiping paws. Each moment has a different access requirement.
Items used during every stop should be closer than items used only at camp. Food and medications should have a protected, predictable location. Dirty gear should have a separate return path. The goal is to reduce the number of decisions between parking and getting outside.
Think in flows, not piles
A good vehicle system has a loading flow and an unloading flow. Clean gear enters one zone, daily-use items remain within reach, and wet or dirty gear returns to a designated place. If everything shares one large compartment, the system breaks as soon as a muddy dog or wet rain jacket arrives.
Ask where each item goes after it is used. A towel should not be placed on top of dry bedding. An opened food bag should not be left beside muddy boots. A leash should not disappear beneath a cooler. These are small rules, but repeated rules create a dependable trip.
Create Four Practical Zones
Zone one: the immediate-access kit
This is the small kit that supports every stop. Include a leash, spare control item if appropriate, water, bowl, waste bags, towel, hand-cleaning supplies, and a basic light. Keep it in a bag that is easy to recognize and retrieve without moving larger gear. For a family trip, make sure more than one adult knows where it lives.
Zone two: food and health
Keep human and pet food in sealed containers and separate them from chemicals, wet gear, and waste. Store medications and important records where they remain dry and easy to find. If a food item requires a particular temperature or handling method, follow its label or professional instructions.
Do not assume that an attractive container is appropriate for a particular food or medication. Use containers suitable for the contents and keep the original directions available when needed. At campsites, follow current guidance for wildlife and food storage.
Zone three: activity equipment
Group gear by the activity rather than scattering it throughout the vehicle. A hiking kit might include packs, water-carrying equipment, towels, a light, and trail-specific items. A beach kit might need more drying materials and a way to separate sand. A camping kit can include shelter, sleeping, cooking, and lighting gear.
Activity bags should not become permanent miscellaneous bags. Review them after each outing and remove items that do not belong. This keeps the next load lighter and easier to audit.
Zone four: wet and dirty return gear
Designate a ventilated or washable place for muddy shoes, wet coats, dog towels, and used cleanup materials. Keep this zone away from bedding and food. A sealed bag can contain moisture during the drive, but damp items should be dried as soon as practical to prevent odor and mildew.
The exact location depends on your vehicle. Protect surfaces without covering controls, vents, seat-belt hardware, latches, or other required functions. If a container can slide, tip, or interfere with the pet’s travel space, change the layout.
Choose Containers by Job
Containers should solve a specific problem. Soft bags can be useful for quick-access supplies, while rigid bins may protect food, cooking gear, or equipment that needs structure. Clear labeling can reduce searching. A container that is too large may become a black hole; several small containers may create extra handling. Test the size against your actual routine.
Use a consistent naming system such as “stop,” “pet,” “camp,” “clean,” and “dirty.” Avoid labels that describe ownership if the entire travel group needs to find the contents. If you travel at night, choose closures and labels that are easy to recognize by touch or in low light.
Do not stack heavy containers where they can fall during loading or unloading. Keep the driver’s view clear and secure gear according to the relevant equipment instructions. Test the vehicle after loading, including access to the pet’s travel space and emergency equipment.
Make Pet Supplies Easy to Reach
Your pet’s most important supplies are often needed at the least convenient time. A dog may need water before you reach the trail, a towel after rain, or a leash immediately after parking. Keep those items in the cabin or another safe, accessible location rather than buried under the tent.
Separate the everyday pet kit from the overnight pet kit. The everyday kit travels on short walks and long road trips. The overnight kit holds extra bedding, food storage, grooming supplies, and camping-specific items. This approach prevents you from carrying every camping item for a simple errand while preserving a reliable base for longer trips.
Use familiar items when possible. A known bowl, blanket, or mat can make new surroundings easier for a dog. Store the pet’s comfort item so it stays clean and dry until needed. If you add a new wearable item or travel aid, practice at home first.
Protect the Pet’s Travel Space
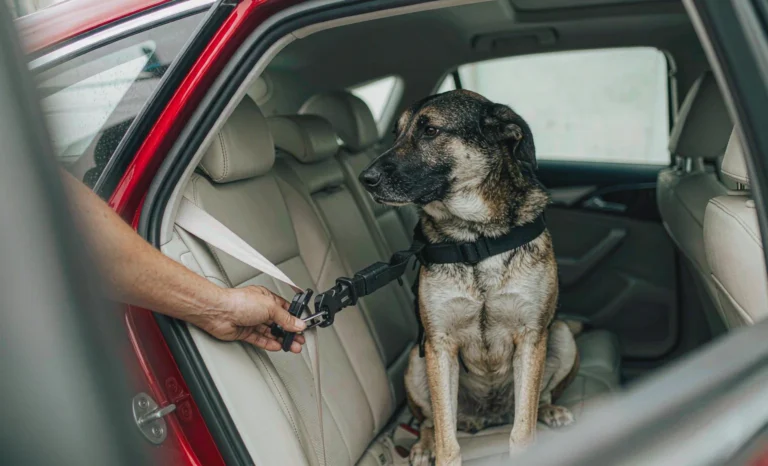
Organization must never turn the pet’s riding area into overflow storage. Keep loose objects out of the space and avoid arrangements that interfere with visibility, controls, airflow, or access. Use an appropriate crate, carrier, barrier, harness, or other setup according to its instructions and your dog’s needs.
Introduce the setup before a long drive. Watch for signs that your dog is uncomfortable or stressed, including unusual panting, pacing, vocalization, vomiting, trembling, or inability to settle. If concerns persist, ask a veterinary professional for guidance. Recheck the setup each time you load because straps twist, bedding shifts, and containers move.
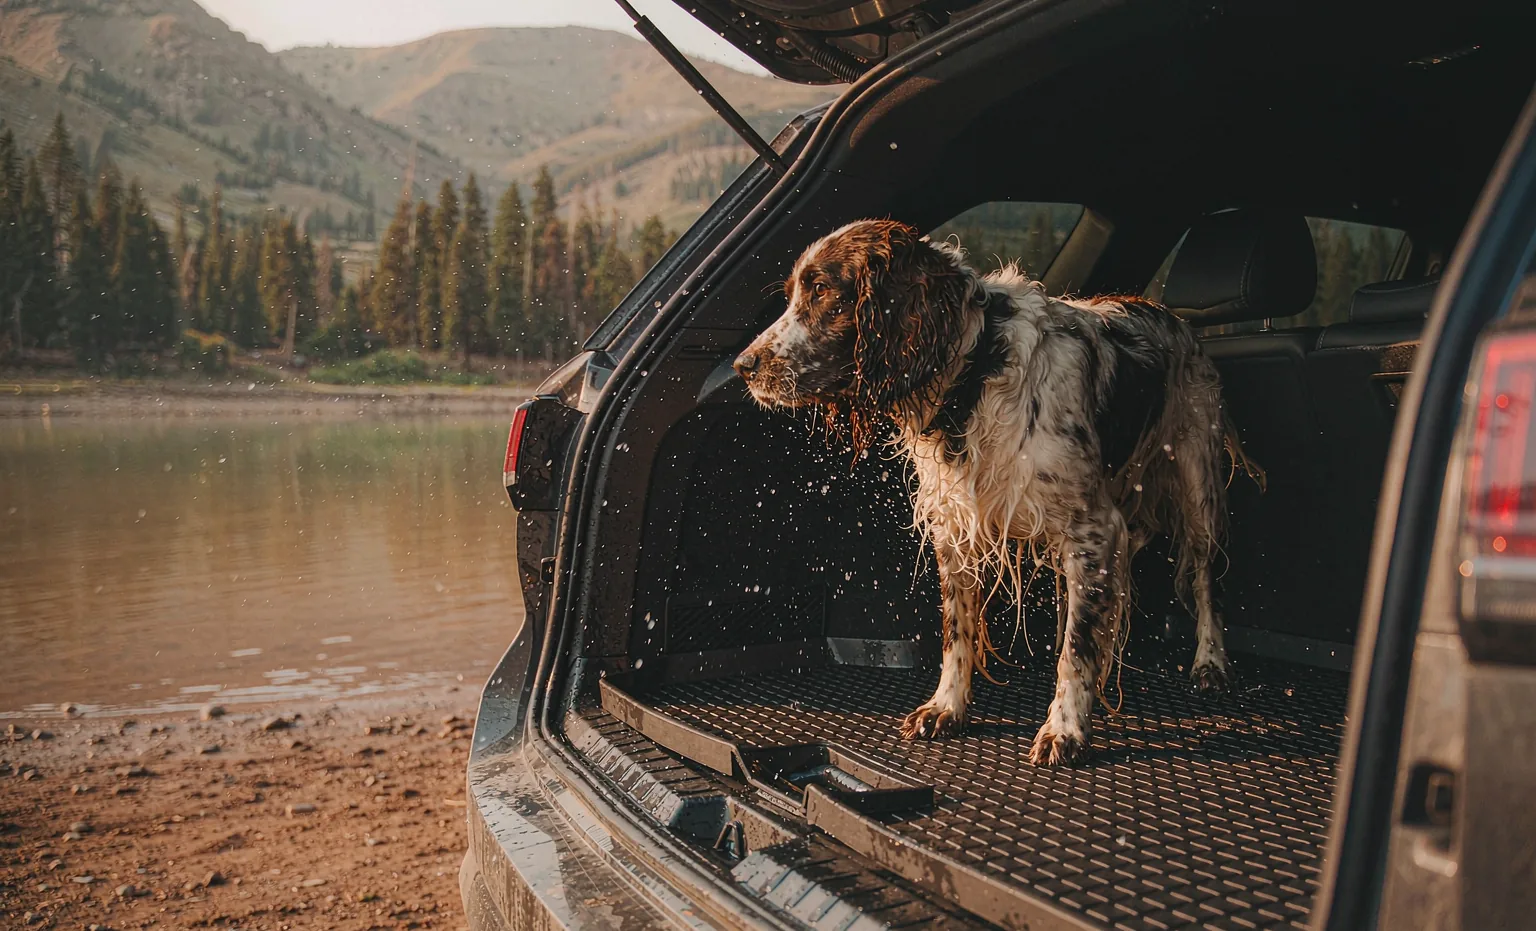
A washable layer can help with hair and dirt, but it should be installed so it does not block required vehicle functions. Clean the pet area regularly rather than letting hair and grit accumulate beneath the protective layer.
Build an Easy Loading Pattern
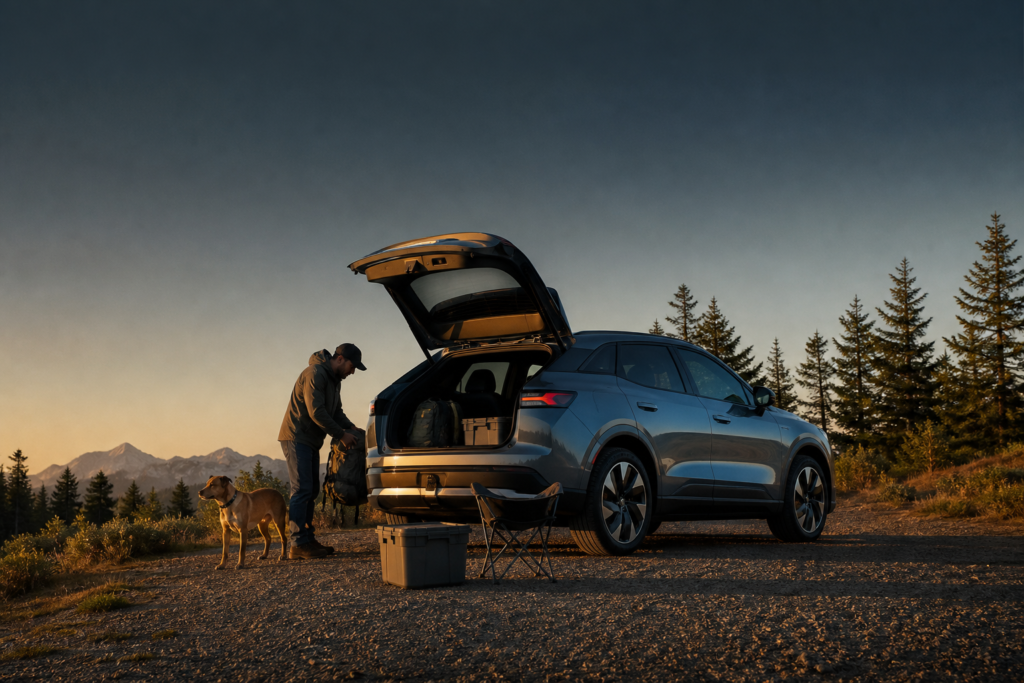
Start loading with items that will be used last, such as optional camp equipment. Place daily-use items near the final access point. Keep heavy items low and balance the load as appropriate for your vehicle. Put clean bedding and food in a protected zone, then add activity gear, and finish with the immediate-access kit.
Before closing the vehicle, perform a visual check: Can the driver see clearly? Are doors and windows unobstructed? Is the pet area free of loose objects? Can you reach water and a leash? Are wet items separated? Is the gear secured according to the manufacturer’s instructions? This takes less time when the system is familiar.
For solo travel, simplify further. Every action should be possible without leaving a pet unsecured or standing in a traffic area with open doors. For group travel, assign roles: one adult manages the pet transition, one handles the vehicle, and one checks the load when practical.
Organize for Different Outings
The short local walk
A short outing needs only the immediate-access pet kit, water, waste bags, and activity-specific basics. Keep this configuration ready if you frequently visit nearby parks. Remove damp items after each use so the vehicle is ready for the next trip.
The day hike
A day hike may add food, extra water, layers, a first-aid kit, navigation equipment, and more cleanup supplies. Confirm current trail and pet rules, check the weather, and match the route to your dog’s fitness. Keep the dog’s water and towel accessible at the vehicle, not beneath your hiking pack.
The overnight camp
Overnight travel adds bedding, shelter, cooking items, lights, more food, and a larger dirty-gear plan. Load by the order of arrival: water and leash first, sleeping and shelter basics next, optional comfort items last. Keep food and scented waste managed according to the destination’s guidance.
Manage Food, Water, and Waste
Use separate, sealed containers for human food, pet food, treats, and waste. This limits confusion and helps keep odors from spreading through the cabin. Refill water before leaving each stop and check the next part of the route rather than assuming a source will be available.
Waste bags should be available in more than one location, such as the immediate-access kit and the activity bag. Follow local disposal instructions. Keep used bags contained and remove them promptly. A designated waste container can prevent the rest of the vehicle from smelling like the trailhead.
Review supplies after each trip. Discard compromised food, wash bowls, dry towels, and replace anything used or damaged. A quick inventory is easier than discovering an empty container at the start of the next outing.
Make Cleanup Part of the Layout
A cleanup plan works best when it begins before the activity. Pack towels where the dog enters the vehicle, keep a brush or paw-cleaning tool with the outdoor kit, and reserve a place for muddy gear. After the walk, allow the dog to settle, check paws and coat, wipe as appropriate, and load only after the transition is controlled.
The vehicle does not need to remain spotless during an adventure. It does need to remain functional. Remove grit from areas that affect closures or seat hardware, dry damp surfaces, and empty dirty containers. Wash or air out reusable layers when you return home.
Review the System After Every Trip
The best organization system evolves from actual use. After an outing, note what was difficult to reach, what you never used, and what you wished you had. Move the leash if it was buried. Split a container if it became confusing. Remove duplicates if they add bulk without value.
Review seasonal needs separately. A winter trip may require different layers and drying supplies than a summer beach outing, while a rainy season may require more protection for bedding. Change the system deliberately and record where the new items live.
Common Organization Problems
One problem is using the trunk, cargo area, or bed as a single open storage bin. Another is keeping the pet kit with the camping gear, which makes a quick stop require a full unload. A third is creating a dirty zone without a plan to empty it. These problems are solved by access rules and routines, not by adding random organizers.
Avoid assuming that an organizer fits every vehicle or that a product supports a particular load. Check dimensions, mounting directions, and vehicle-specific constraints before use. Keep visibility and vehicle controls clear, and make sure any accessory is used as directed.
Keep an Inventory That Reflects Use
An inventory does not need to become a detailed spreadsheet. A short checklist on your phone or in the access kit can identify the items that are easy to forget: medication, identification, waste bags, bowls, charging cables, a headlamp, and a spare leash. Check the essentials before leaving and after unloading. For items that live in the vehicle, review expiry dates, condition, and seasonal suitability on a regular schedule.
Group the inventory by action. “Before leaving” might include food, water, keys, leash, and weather gear. “At the trailhead” might include the towel, bowl, and activity bag. “At home” might include drying, washing, refilling, and returning items to their zones. An action-based list is easier to use than a list that simply mirrors the vehicle’s compartments.
Avoid storing fragile or temperature-sensitive items in the vehicle unless the product directions allow it. Heat and cold can affect some foods, medications, batteries, and materials. Follow the label, your veterinarian’s instructions, and the equipment manufacturer’s guidance. When an item’s storage needs do not suit the vehicle, move it into the travel load only when needed.
Account for Passengers and Everyday Driving
An organization system should work on an ordinary weekday, not only on an ideal camping morning. Leave room for groceries, work bags, child seats, or passengers when the trip is over. If the vehicle remains packed for days, make sure the load does not obstruct visibility, access, or ordinary use. A removable activity kit can let you switch from trail mode to daily driving without moving every container.
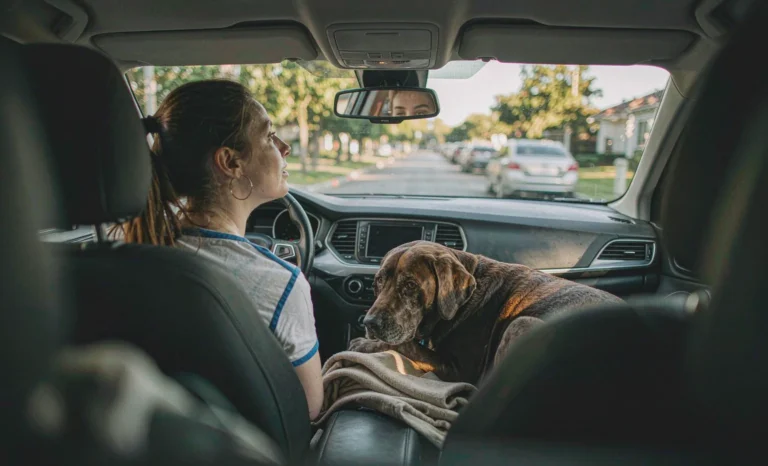
Ask whether another person could understand your layout. A family member, friend, or pet sitter may need to find the leash or water without a long explanation. Consistent locations are more useful than a clever arrangement only one person remembers. Keep the system simple enough that it survives a last-minute change of driver or destination.
Make the System Easy to Clean
Choose organization habits that match the materials in your vehicle. Removable layers, washable bags, and wipeable containers can simplify the return from a muddy walk, but inspect how each item interacts with seat belts, doors, vents, and cargo anchors. Clean spills promptly, dry damp fabric, and avoid leaving food residue in closed compartments. A system that takes a few minutes to reset is more likely to stay useful than one that requires a complete weekend clean after every outing.
Make Room for the Return Trip
Keep a little capacity available for used towels, extra layers, and gear that is no longer clean. A vehicle packed to its limit on departure often has no practical place for those items on the way home. Leaving room also makes it easier to separate the dog’s resting area from the outdoor load and to retrieve everyday supplies without disturbing the entire vehicle.
Frequently Asked Questions
What is the best way to organize a car for a dog and outdoor gear?
Create zones based on access and cleanliness: immediate pet supplies, food and health items, activity gear, and wet or dirty gear. Keep the pet’s riding area clear and test-load the vehicle before traveling.
Should dog supplies go in the cabin or cargo area?
Items needed during every stop, such as water, leash, waste bags, and a towel, should be accessible without disturbing the load. Less frequently used supplies can go in a protected cargo zone. The arrangement must not interfere with driving or the pet’s travel space.
How do I keep clean bedding separate from muddy gear?
Use distinct containers or zones, place towels and wet shoes in a designated dirty area, and dry damp items after the trip. Do not place wet gear on top of food or clean bedding.
How often should I reorganize the vehicle?
Review the setup after every outing and make a seasonal review when weather or activities change. Small adjustments are easier than waiting until the vehicle becomes difficult to use.
Do I need a different system for camping and day hikes?
Not necessarily. Keep a stable everyday pet kit, then add activity-specific bags. This preserves the same access routine while allowing the load to expand for an overnight trip.
CTA
A better-organized vehicle gives you more time outside and fewer frantic searches at the trailhead. Build simple zones, keep pet essentials accessible, and reset after every outing.
How many zones should there be?
Four is enough for almost everyone: the door pockets for daily reach, the seat-back for the dog’s own kit, the cargo for bulk no-one needs while moving, and a small emergency pouch that never gets borrowed from.
What should never go in the cargo?
Anything you need during the trip rather than at the destination. Water, medication and the leash have no business behind a cooler.
Read next: the Gear Lab · the everyday car kit, audited · building a vehicle kit. Start from Drive Together for the everyday rides, or the Gear Lab to compare before you buy.