There is a specific kind of defeat that comes from cleaning the car, sitting down, and then noticing mud in a place you did not clean. It happens because most people clean in the order the mess presents itself, which is almost always the wrong order. Dry before wet, dog before car, and always find the source of the smell before you try to cover it.
How to Clean Up After a Muddy Day Out With Your Dog
Learn how to clean a car after pet outdoor travel with a practical order for mud, sand, hair, wet bedding, stains, and odor. Protect surfaces without guessing at products.
/clean-car-after-pet-outdoor-travel/
A dog can turn a clean vehicle into an outdoor gear room in minutes. Mud collects on door sills, sand hides in seams, wet bedding adds moisture, and hair settles everywhere the dog has rested. The answer is not an aggressive product or a single deep-cleaning day. A better routine removes the mess in the right order, protects the vehicle's surfaces, and makes the next trip easier.
This guide covers a practical US car-cleaning routine after parks, hikes, beaches, camping, swimming, and rainy walks. Vehicle interiors differ, as do fabrics, coatings, plastics, leather-like materials, mats, and electronic areas. Check your owner's manual and each product label before cleaning. Do not assume that a cleaner safe for one surface is safe for another, and do not apply vehicle chemicals to your dog. If a stain, odor, or moisture problem is beyond routine cleaning, consult an appropriate professional.
Clean in the right order
The useful sequence is:
1. Unload the dog and outdoor equipment safely. 2. Remove wet and dirty textiles. 3. Let loose mud and sand dry or loosen when practical. 4. Remove dry debris before adding liquid. 5. Clean from the cleanest areas toward the dirtiest. 6. Treat stains and odor according to the surface and label. 7. Dry the interior fully and reinstall clean protection.
This order prevents you from turning dry grit into paste or spreading muddy water across clean upholstery. It also gives you a chance to find the source of an odor instead of covering it with fragrance.
Start outside the vehicle
Unload in a controlled place away from traffic. Keep the dog on a leash until you are in a secure area. Put used towels, muddy toys, wet blankets, and dirty footwear in a dedicated bag or washable tote. Remove food and clean bedding first so they do not contact wet or dirty items.
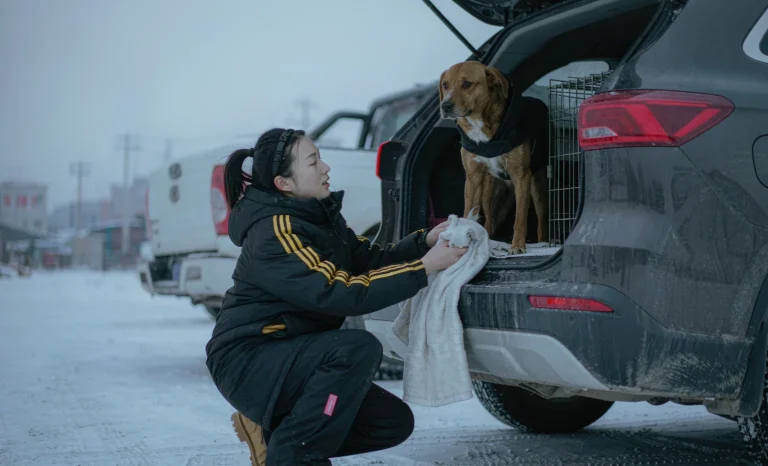
If mud is thick, wipe the dog and gear as appropriate before they enter the car next time. Use pet-appropriate care products on the dog and vehicle-appropriate products on the car. The distinction matters: household or automotive cleaners may irritate an animal, while a pet wipe may not be suitable for a vehicle surface.
Remove protective layers first
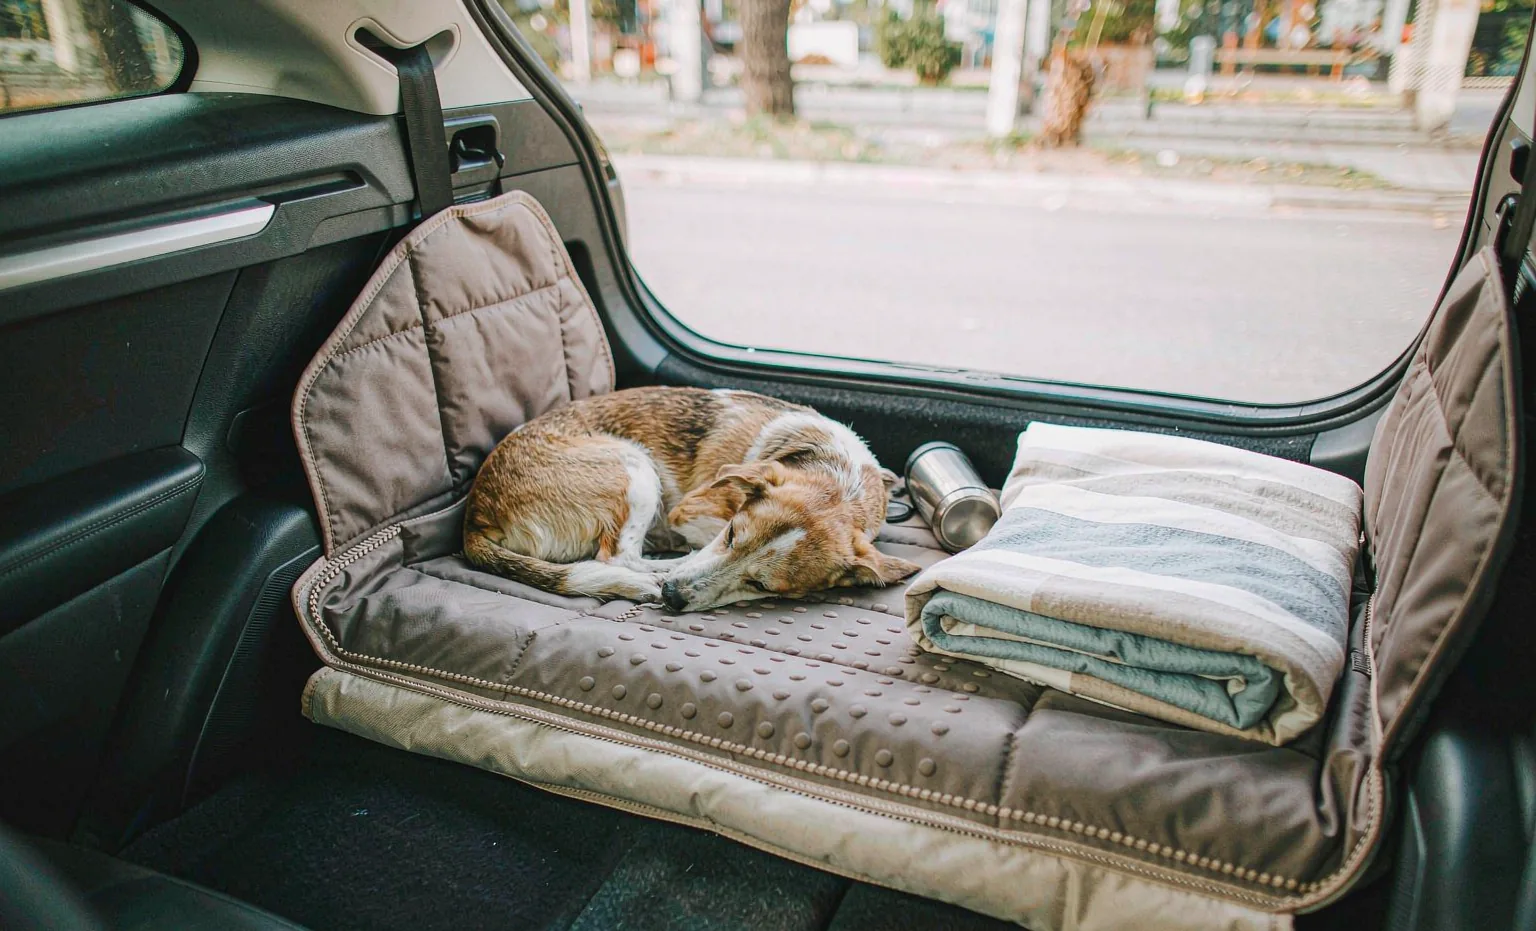
If you use a seat cover, cargo liner, mat, or blanket, remove it before cleaning the vehicle underneath. Shake dry debris outside when practical. Carry wet textiles in a bag that will not leak into the cabin. Wash each item according to its care instructions and let it dry completely before putting it back.
Inspect the underside of every layer. A mat can look clean on top while trapping grit or water underneath. Covers can hide damp upholstery, so lift them promptly after a wet trip. If a protective layer has shifted, note why: an uneven seat, excess bedding, overloaded pockets, or an attachment that needs adjustment.
Separate clean, wet, and contaminated items
Use three temporary groups. Clean items include dry food, unused towels, and fresh bedding. Wet items include swim towels and damp blankets. Dirty items include muddy shoes, used waste bags, and heavily soiled toys. Keeping these groups apart prevents the common mistake of placing a muddy towel on a clean seat or storing wet fabric with dry supplies.
For longer trips, carry a washable bag for wet fabric and a second bag for dry dog supplies. After the trip, empty both promptly. A closed bag is not a long-term drying method; moisture trapped inside can create odor.
Deal with mud and sand
Let thick mud dry enough to lift when practical. Use a soft brush or cloth to remove loosened material, then vacuum what remains. If you add water too early, grit can smear into fabric and seams. For wet mud that cannot wait, blot rather than scrub aggressively. Use a surface-appropriate cleaner according to its label and test an inconspicuous area if the instructions call for it.
Sand behaves differently. It hides in seat seams, cargo corners, floor mats, door pockets, and the edges around the liftgate. Remove mats and shake them outside. Vacuum slowly along seams and corners. A soft brush can help move particles toward the vacuum without forcing them deeper into fabric. Avoid using compressed air in a way that drives grit into vents, switches, or electronic areas.
Check the entry points
Dogs carry outdoor debris through doors and liftgates. Inspect the lower door panels, door sills, weather seals, cargo threshold, floor edges, and the area where paws land. Use a cloth dampened as appropriate for the material, not a dripping cloth around controls or openings. Dry the area afterward.
If you find plant material, burrs, or small stones, remove them carefully. Do not pull on a seal or trim piece unless the vehicle instructions allow it. A small handheld brush can be useful for seams, but its bristles should not scratch delicate surfaces.
Remove pet hair without spreading it
Hair is easiest to manage before it becomes deeply embedded. Start with a dry surface and a tool suitable for the upholstery or mat. Work in one direction and collect loosened hair rather than pushing it into seams. Vacuum after brushing. For removable covers, shake or brush them outside before washing according to their care instructions.
Long coats, undercoats, and wet fur may require more than one pass. Move seats only when safe and according to the vehicle's design. Check the gap between the seat and door, the seat-back fold, and cargo corners. Do not force a brush into vents, powered-seat mechanisms, or electrical components.
Prevent future hair buildup
Brush your dog before an outdoor trip when practical, keep a washable travel layer installed, and make the post-trip reset part of unloading. A small handheld vacuum or lint tool can stay in the car if it does not become loose cargo. Store it in a stable location, and never let its cord or attachments interfere with the driver area.
No cover catches every hair. The purpose of a cover is to reduce the exposed surface and make cleanup more manageable, not to eliminate maintenance.
Handle wet bedding and moisture
Wet blankets, towels, and fur introduce moisture that can linger under covers and in carpet. Remove them promptly. Blot visible moisture with a clean towel, then allow the vehicle and textiles to dry in a controlled, well-ventilated setting. Follow the vehicle and accessory instructions about opening doors, windows, or the liftgate. Do not leave the car unsecured just to speed drying.
Inspect beneath removable mats and around cargo storage. If a liquid has entered a location with electronics, wiring, vents, or controls, avoid saturating it further and seek guidance appropriate to the vehicle. Persistent dampness should not be ignored; it can lead to odor and material damage.
Treat water, drool, and spills early
Blot liquids instead of rubbing them outward. Remove the source, then clean the relevant surface with a compatible product and the method on its label. If you do not know the material, consult the owner's manual or the vehicle manufacturer before applying a new cleaner. Do not mix cleaning chemicals. Use ventilation as appropriate and keep the dog away from wet products until the surface is dry and safe.
If a spill reaches a seam or padding, surface wiping may not remove everything. Repeated odor after cleaning is a sign to investigate the padding, cover underside, or another nearby material.
Find and remove odor at the source
Odor usually comes from a material that remains damp or contaminated. Check bedding, covers, mats, carpet, seat seams, door pockets, and the space beneath luggage. Remove and wash what can be washed. Clean the affected vehicle surface with a product suitable for that material. Allow full drying before deciding whether the smell remains.
Avoid simply adding a strong fragrance. Fragrance can combine with pet odor, bother people or animals, and make the source harder to identify. If an odor persists after routine cleaning and drying, professional interior cleaning may be appropriate. A persistent smell after an accident or significant moisture event may need specialized assessment.
Do not use the vehicle as a drying cabinet
Wet fabric sealed in a cargo area or bag can become a source of odor. Take damp items out as soon as practical and wash or hang them according to their care instructions. If weather prevents drying, keep wet and clean items separated and finish the job when conditions permit. The goal is to remove moisture, not disguise it.
Choose products carefully
The safest cleaning product is not automatically the strongest. Match the product to the surface: upholstery, carpet, plastic, rubber, glass, leather, coated trim, and removable fabric may each have different instructions. Read the label and vehicle guidance. Test a hidden area when appropriate. Use the smallest amount needed, and avoid soaking.
Keep automotive cleaners away from the dog, food, bowls, and bedding. Never mix products unless the label explicitly permits it. If ventilation or protective equipment is specified, follow those directions. Store cleaning supplies securely so they cannot roll into the driver area during the next trip.
A compact post-adventure kit
A practical kit may include clean microfiber cloths, a soft brush, waste bags, a washable bag for wet fabric, gloves if appropriate for the product, towels, a suitable vacuum or lint tool, and a surface-compatible cleaner. The exact contents depend on your vehicle and activities. A small kit you actually carry is better than a large kit left at home.
Keep a separate dog-care kit. Water, pet wipes, and coat-cleaning items should not be confused with interior-cleaning chemicals.
A ten-minute reset
For ordinary outdoor days, use this abbreviated routine:
1. Leash and unload the dog safely. 2. Remove wet bedding, towels, and dirty gear. 3. Shake out or brush dry mats outside. 4. Pick up visible mud, burrs, and debris. 5. Vacuum the dog zone, seams, and entry points. 6. Wipe suitable hard surfaces and door sills. 7. Check under the protective layer for moisture. 8. Leave clean covers and bedding to dry fully before storage or reinstallation.
If the vehicle is heavily soiled, do not rush a ten-minute reset. Use the full process or seek professional help.
Deep clean after a major trip
After camping, beach travel, repeated rain, or a muddy season, remove everything from the cabin and cargo area. Wash covers and bedding, vacuum thoroughly, inspect storage spaces, and clean the surfaces in sections. Work from the top down and from cleaner areas toward dirtier ones. Give special attention to seat folds, floor edges, door pockets, cargo thresholds, and the underside of removable protection.
Make a note of damage as well as dirt. Scratches, loose trim, lifted seals, broken fasteners, or a cover that no longer lies flat may require repair or replacement rather than more cleaning. Confirm that every accessory is reinstalled correctly before the next drive.
Build prevention into the travel routine
Cleaning is easier when you prevent the largest messes. Keep towels at the loading point. Brush off loose sand and mud before the dog enters. Use a washable layer in the zone where the dog actually rides. Carry wet and clean bags separately. Load heavy gear away from the dog. Remove wet items at the end of the trip.
A consistent loading routine also helps the dog. When the dog knows where to wait, enter, and settle, there is less time spent with doors open and fewer opportunities for dirt to spread. Vehicle care and pet care work better when they are planned together.
Clean by the type of outdoor mess
Different activities leave different residues. A beach trip may fill seams with fine sand and add salt or dampness. A forest walk may leave leaves, burrs, and wet soil. A rainy park visit may produce water and hair without much grit. Camping can combine dust, food crumbs, muddy equipment, and damp bedding. Identifying the likely mess helps you choose the order of removal instead of using the same wet wipe for everything.
For fine sand, dry removal and slow vacuuming are usually the useful first steps. For leaves and burrs, pick out visible pieces and brush the area before vacuuming. For wet soil, remove thick material and blot before applying a compatible cleaner. For food or treat crumbs, clear the dog zone and check seams where small particles collect. If an outdoor substance is unknown or may be chemical, avoid spreading it and seek appropriate guidance.
Be careful with salt, sunscreen, and trail products
Outdoor travel can introduce more than dirt. Salt water, sunscreen, insect products, plant sap, and other residues may contact the vehicle. Do not assume that a household remedy or abrasive scrub is appropriate. Identify the surface, read the vehicle and product instructions, and test as directed. A residue left under a mat can continue to attract dirt, while an overly aggressive cleaner can change the finish.
Keep the dog away from freshly cleaned surfaces until they are dry and safe. Wash pet-contact items separately when their care instructions call for it, and do not transfer a vehicle cleaner onto the dog's coat, paws, bowl, or bedding.
Know when routine cleaning is not enough
A normal reset is appropriate for hair, light grit, small amounts of mud, and removable wet textiles. Stop and seek additional help when moisture reaches electronics or deep padding, an odor remains after cleaning and drying, a stain spreads, mold-like growth appears, or a sharp object has damaged the interior. The right professional may be an automotive detailer, upholstery specialist, repair facility, or another qualified service depending on the issue.
Photograph a spill or damage before cleaning if you may need to document it for a service provider. Keep product names and the steps already taken. Avoid repeatedly applying new chemicals while trying to solve a stubborn odor or mark; more product can make the surface harder to assess.
Make cleanup part of unloading
The fastest cleanup often happens before the vehicle is parked for the night. Remove wet fabric, food crumbs, and muddy gear while you still remember where each item went. Keep one clean towel in the vehicle for the next departure, but take the used towel inside for washing or drying. Empty vacuum containers and washable bags regularly so the cleanup kit is ready when the next outdoor invitation arrives.
Frequently asked questions
Should I clean mud while it is wet or wait until it dries?
When practical, let thick mud dry enough to lift, then brush and vacuum. Wet mud can smear into fabric and seams. If you must clean immediately, blot rather than scrub and use a surface-compatible product according to its label.
How do I get dog hair out of car upholstery?
Start dry. Use a suitable brush or hair-removal tool to gather hair, then vacuum seams and folds. Repeat as needed. Protecting the surface with a washable cover and brushing the dog before travel can reduce future buildup.
How do I remove wet-dog odor?
Find and remove damp or contaminated materials, wash removable textiles, clean the affected surface appropriately, and dry everything fully. Avoid masking the smell with fragrance. Persistent odor may need professional cleaning.
Can I use household cleaner in my car?
Do not assume it is safe. Vehicle surfaces have different finishes, and some cleaners may discolor, damage, or leave residue. Read the owner's manual and product label, test as directed, and never mix chemicals.
What should I do if water reaches electronics or controls?
Stop adding liquid, avoid operating affected controls if doing so could worsen the issue, and consult vehicle-specific guidance or a qualified professional. Do not treat a significant moisture event as an ordinary wipe-down.
CTA
A cleaner dog-trip vehicle starts before the dog jumps in. Build a small kit, use a removable protective layer, separate wet gear, and reset the vehicle after every outdoor day.
What is the ten-minute trailhead version?
Towel the dog down hard at the car, get the worst off paws, then boot them into a covered seat and deal with everything properly at home. Trying to do a full clean on a gravel car park in the wind just moves mud around.
How do I get the smell out rather than covering it?
Follow your nose to wet: damp bedding, the seam of a seat cover, a towel that got folded wet. Odour almost always sits somewhere still damp, and drying that thing solves most of it without product.
Read next: liner or cover · American Drive · a washable cargo liner. Start from Drive Together for the everyday rides, or the Gear Lab to compare before you buy.