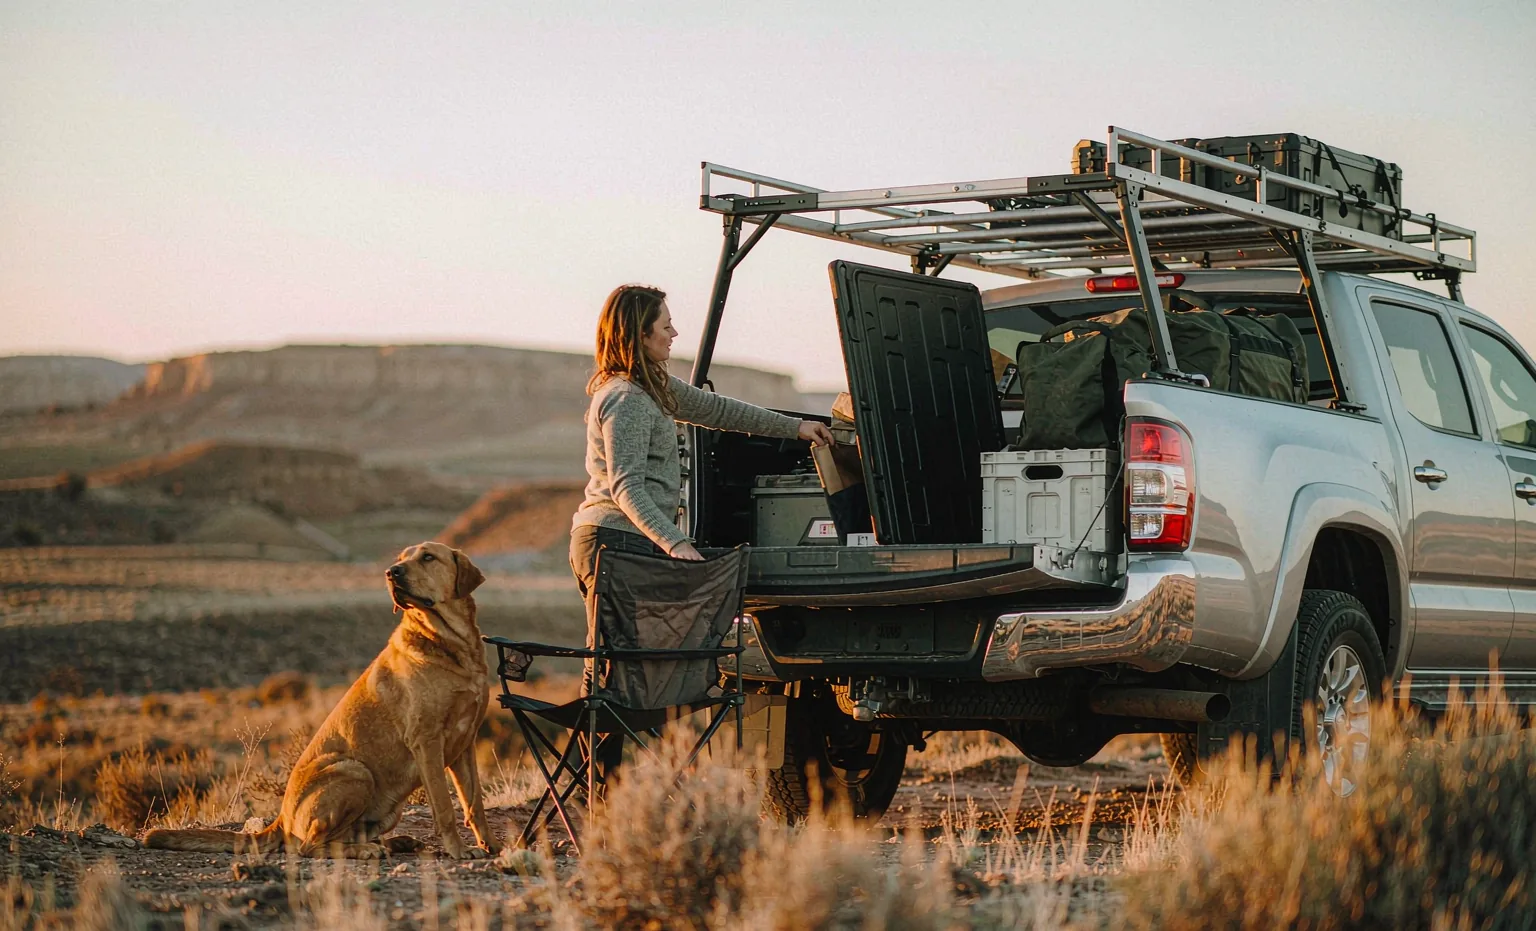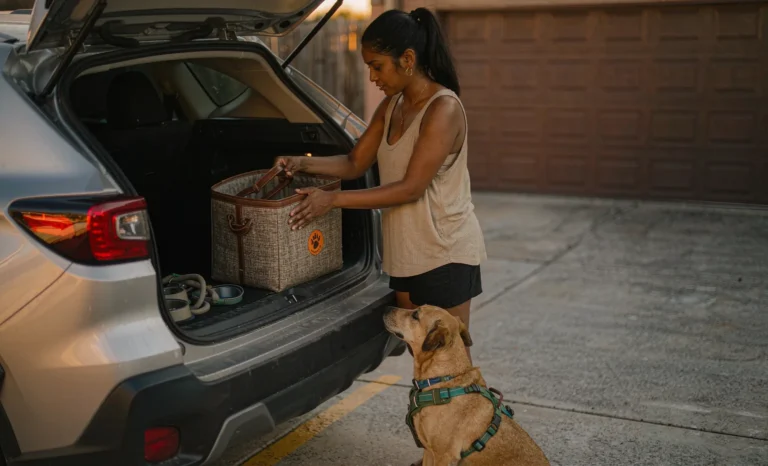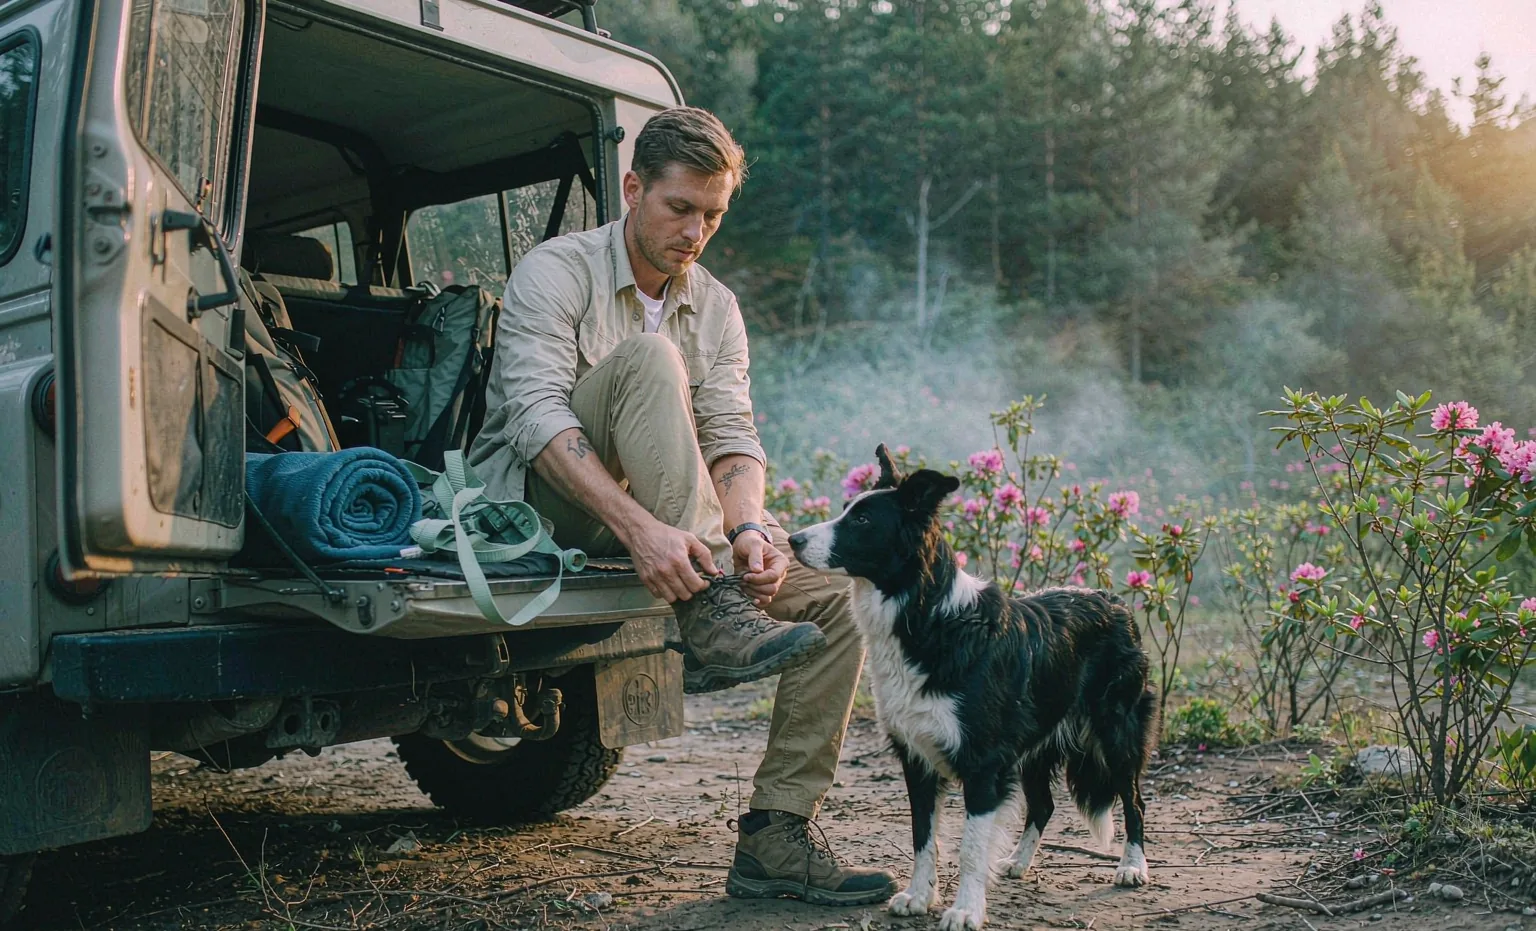
Most advice assumes one kind of day. Either you are doing a long drive or you are doing a hike, and you pack for whichever one dominates the plan. Real trips mix them: highway in the morning, dirt road by lunch, wet dog in the car by three. The setup below is built for that day, which is the one most people actually have.
Trail & Highway Road Trips With Your Dog: A Practical Setup Guide
Build a dog road-trip setup for pavement, trail days, weather changes, and easy cleanup. Plan around your dog, your passengers, and your cargo — in whatever rig you take out.
A vehicle invites outdoor plans, but a dog road trip begins before the trailhead. Dogs bring fur, mud, sand, water, and unpredictable energy into the vehicle. A practical vehicle setup respects those realities while preserving the vehicle's everyday usefulness. It should keep the driver focused, give the dog a consistent place to travel, and make the transition from pavement to trail easier to manage.
This guide is written for US vehicle owners who take dogs on errands, camping weekends, beach trips, and day drives. vehicle generations, body styles, doors, roof configurations, seat layouts, and cargo dimensions vary. Do not assume that a cover, barrier, harness, crate, or liner fits every vehicle. Confirm measurements, attachment methods, owner's instructions, and any local rules for your exact vehicle. The ideas here are planning principles, not a promise of fitment or a substitute for professional advice.
Define the trip before defining the setup
A dog road trip setup should reflect the route. A two-hour highway drive with one passenger has different needs from a day at a muddy trailhead with camping equipment. Write down the likely conditions: pavement or rough roads, dry or wet weather, expected stop frequency, passenger count, luggage, and whether your dog will enter the vehicle with dirty paws. Then rank what matters most: containment, cargo capacity, surface protection, access, or easy removal.
Your dog's temperament matters as much as the vehicle's shape. A dog that settles on a flat mat may need little beyond a defined travel zone. A dog that climbs, pants, or tries to reach the front needs a plan that limits movement without creating new hazards. A dog that becomes carsick may need shorter practice drives and a veterinarian's input. No accessory can replace observing your dog and adjusting the trip.
Account for vehicle variations
Before ordering anything, measure the areas you will actually use with the seats and top configured for travel. Check the width at the narrowest point, the length available behind the seats, the height under any cargo cover, and how the liftgate or rear doors open. Think about whether the rear seats fold, whether you carry a spare tire or recovery gear, and where loose equipment will go.
The name “vehicle” is not a single interior. Two vehicles with the same badge may have different body lengths, seating arrangements, or trim details. Treat each accessory description as a starting point for verification. If the installation needs a specific anchor, headrest, buckle, or gap, locate that feature in your own vehicle before relying on the product.
Select the dog's travel zone
Most owners choose a rear seat, a cargo area, or a divided arrangement. The best choice keeps your dog away from the driver, leaves the driver's view and controls clear, and preserves enough room for the dog's posture and movement. It also needs to work when the vehicle is loaded with hiking shoes, coolers, leashes, and wet clothing.
Rear seat setup
A rear-seat arrangement can keep the dog close to passengers and leave cargo space for bulky outdoor gear. Start with a washable seat cover or mat that follows the seat shape and does not interfere with seating, belts, doors, or child-seat use. Keep the dog's bedding low and stable. If a barrier or other travel-management device is used, verify how it attaches and whether it remains secure with your vehicle's headrests and seat configuration.
This location may be useful for dogs that like company or need frequent observation. It can be less convenient when you carry people in the rear seats or when your dog enters wet after a swim. In that case, keep towels and a temporary dirty-item bag near the entry point so the dog does not cross clean luggage before settling.
Cargo-area setup
A cargo area may work for a dog that prefers a dedicated space and for trips where rear passengers need their seats. Protect the floor with a mat or liner that lies flat and allows normal access to storage and the liftgate. Separate the dog from heavy equipment. Recovery tools, coolers, fuel containers, and hard gear should not be able to slide into the dog's area.
If your vehicle has a removable top or other open-air configuration, plan for changing weather and airborne dust. A setup that works in a closed cabin may not work when wind, rain, or sun exposure changes the interior. Keep the dog's water, leash, and towel reachable without making a person lean across the dog or climb into the vehicle.
Use a layered outdoor-travel system
The simplest durable arrangement has a vehicle layer, a dirt-catching layer, a comfort layer, and an access layer. The vehicle layer is the seat, carpet, or trim. The dirt-catching layer is a washable cover, mat, or liner. The comfort layer is a familiar blanket or pad that can be removed after the trip. The access layer includes the leash, towel, waste bags, and whatever tool you use to keep the dog in its intended area.
This system allows you to adapt. On a clean highway commute, remove the muddy-foot layer. On a beach trip, add a towel and a separate bag for damp fabric. At a campsite, keep the cover installed until the dog is unloaded and the gear is out. A system that can be rolled, folded, or wiped down is often more useful than a complicated arrangement that stays in the vehicle permanently.
Keep the driver zone clear
vehicle trips often involve more loose equipment than ordinary errands. Make a driver-zone rule: nothing related to the dog, trail, or camp goes near pedals, steering controls, mirrors, or the driver's walking path. Do not place a leash where it can snag. Do not store a water container where it can tip into controls or electrical areas. Secure bags and hard equipment separately from the dog.
Loading order can help: place heavy cargo first, create the dog zone, add light personal items, and load the dog last. Before moving, check the driver's view, doors, liftgate, seat-belt access, and the dog's boundary. The final check matters when the vehicle has changed from “empty” to “full.”
Prepare for trailhead transitions
The riskiest moment is often not the highway; it is opening a door in an unfamiliar parking area. Keep the dog attached to a leash before opening the vehicle. Have the leash route and walking equipment ready, and ask passengers to pause while you control the exit. This prevents a dog from jumping out into traffic, moving bicycles, or a crowded trailhead.
At the end of a walk, pause before loading. Brush off loose burrs and dry dirt when practical. Wipe or rinse paws according to your normal care routine, dry the dog, and place wet items in a separate bag. If the dog is muddy, use an old towel as a temporary layer rather than allowing dirt to spread through clean bedding and luggage. Never use a harsh cleaner on the dog; vehicle cleaning products and pet care products serve different purposes.
Keep a clean/dirty divide
Use two simple zones in the cargo plan. The clean zone holds food, drinking supplies, dry bedding, and personal items. The dirty zone holds towels, muddy footwear, toys, and used waste bags. A washable tote or sealed bag can create separation without adding a permanent structure. Labeling the bags or keeping them in consistent positions makes the routine easier when daylight fades.
Plan water, food, and breaks
Carry enough water for the route and your dog's normal needs, with a way to offer it without soaking the travel area. Pack familiar food rather than changing the diet during the trip. If your dog is prone to motion sickness, ask a veterinarian about travel timing and feeding. Keep treats modest and appropriate for your dog.
Plan breaks based on the dog's behavior, route, weather, and trip length, not just the odometer. A safe stop gives the dog a chance to walk, drink when suitable, and relieve itself. Check that the location permits pets and offers a safe distance from traffic. A vehicle's outdoor character does not make every shoulder, trailhead, or parking area safe for an unleashed dog.
Think through weather changes
Weather can change quickly on an outdoor drive. A removable top, open windows, shade, rain, dust, and direct sun each alter the cabin experience. Use current vehicle guidance and responsible pet-care practices. Never assume that an open-air configuration, a cracked window, or a parked vehicle is safe for an unattended dog. If you cannot monitor the dog and conditions may change, take the dog with you or arrange supervision.
Watch for excessive panting, drooling, shivering, confusion, vomiting, unusual weakness, or attempts to escape the travel zone. Stop in a safe place and seek professional advice when signs are serious or do not settle. A checklist helps, but it is not a diagnosis.
Practice before a long vehicle trip
Install the setup while the vehicle is parked. Let your dog explore it gradually, then take short drives to familiar destinations. Test the route you will use to unload: can you control the leash, keep the dog's paws away from the roadway, and reach the walking gear without moving heavy cargo? Practice with the actual passengers and luggage when possible.
Change one variable at a time. If the dog reacts badly, you can tell whether the issue is the location, cover, movement, noise, or travel routine. Do not debut a new crate, restraint, food, or long route on a major vacation. If your dog shows repeated fear or illness, pause the plan and consult a veterinarian or qualified behavior professional.
Clean the vehicle after outdoor travel
Let dry mud and sand loosen before vacuuming when practical. Remove covers and bedding outside, shake off debris, and place wet textiles in a washable bag. Vacuum seams, cargo corners, door sills, and the liftgate area. Use a surface-appropriate cleaner according to its label and avoid soaking areas that should remain dry. If an odor persists, locate the contaminated material rather than masking it with fragrance.
Inspect the places outdoor gear touches: rear-seat folds, cargo trim, floor edges, and the areas around the entry. Clean the dog's mat separately from footwear and recovery equipment. Wash and dry fabric fully before reinstalling. If you rinse the dog or gear before loading, plan where the water will go; preventing a second mess is part of pet-first care.
A vehicle departure checklist
Use this short checklist before each trip:
1. Confirm the dog's travel zone and the exact vehicle configuration. 2. Remove loose objects from the driver area and separate hard gear from the dog. 3. Check covers, mats, barriers, and attachment points for twists or gaps. 4. Pack water, food, leash, waste bags, towels, bedding, and care items. 5. Keep clean and dirty gear in separate bags or zones. 6. Review weather, route, stops, trailhead access, and supervision plans. 7. Load people and equipment so the dog can be loaded last and unloaded under control. 8. Recheck visibility, doors, liftgate operation, and passenger seating before moving.
Turn trail-day lessons into a repeatable system
The best vehicle setup improves after each outing. When you return, note where the biggest mess appeared, which bag was hard to reach, and whether the dog needed more space or a different loading order. One small change at a time is easier to evaluate than replacing every item at once. If the dog settled but the cargo shifted, solve the cargo issue. If the dog was uncomfortable, review the travel zone and the timing of breaks rather than assuming a stronger cover will help.
Keep a short version of your setup instructions in the phone notes used for trip planning. Record the seat position, the location of the dog bag, the clean/dirty bag positions, and the order for loading. This is useful when a different family member drives or when the vehicle is used for a normal errand between adventures.
Prepare for the return trip
The return drive is often harder than the departure. The dog may be tired, wet, muddy, or carrying burrs. Food and water may be partly used, towels may be damp, and outdoor equipment may occupy more room than expected. Before leaving the trailhead, make a new loading plan instead of repeating the morning arrangement automatically.
Brush off loose debris and check paws as appropriate. Put wet towels in the dirty bag, keep clean bedding dry, and reserve a stable space for the dog. Recheck that hard gear cannot slide toward the dog after the cargo has been rearranged. If the dog is unusually tired or unwell, pause and assess before starting the drive.
Plan for passengers and shared driving
A vehicle road trip may involve a driver change, an extra passenger, or a stop to pick up gear. Decide who is responsible for the leash and who checks the dog zone when the vehicle is reloaded. A second driver should know the normal setup and the signs that the dog needs a break. Shared responsibility works best when the vehicle has a clear routine rather than a verbal explanation made in a parking lot.
If a passenger needs to sit in a previously empty rear seat, do not simply move the dog onto luggage or into a smaller space. Stop, measure the new arrangement, and choose a location that leaves everyone enough room. The dog zone should remain stable when the plan changes. If it cannot, the safer choice may be to shorten the trip or travel without the additional load.
Keep the setup comfortable for everyday errands
A vehicle does not need to stay packed for every drive. Remove wet or bulky layers after an outing, return the dog zone to a clean baseline, and store specialty gear where it cannot shift. This makes the vehicle easier to use for school runs, appointments, and errands while keeping the core pet routine familiar. A setup that works only on adventure days is harder to maintain than one that resets quickly. That reset also makes the next departure less rushed.
Frequently asked questions
Is a vehicle's cargo area automatically suitable for a dog?
No. Suitability depends on your exact vehicle configuration, the dog's size and behavior, available ventilation and room, separation from loose cargo, and your ability to manage loading and unloading. Measure and test the area while parked before a long drive.
Should I use the rear seat or cargo area on a trail trip?
Choose the zone that keeps the driver clear, gives the dog appropriate room, works with passengers and gear, and can handle mud or water. A rear seat may be convenient for observation; a cargo area may preserve passenger seating. Either requires a deliberate boundary and surface protection.
How do I keep mud out of a vehicle?
Use a removable washable layer, dry or brush off loose dirt before loading, keep towels ready, and separate wet items from clean luggage. No cover prevents every particle, so frequent small resets are easier than a seasonal deep clean.
Can my dog ride with the top or windows open?
That depends on the dog's behavior, weather, vehicle configuration, and your ability to prevent escape or distraction. Keep the dog in a defined travel zone and never assume an open-air setup is appropriate without testing it under controlled conditions.
What if my dog gets carsick on a road trip?
Stop safely, observe the symptoms, and avoid pushing ahead if the dog is unwell. Shorter practice drives and a consistent routine may help, but repeated vomiting or distress deserves veterinary guidance.
CTA
Make your next vehicle outing easier on the dog and the vehicle. Start with the exact cabin and cargo measurements, create a clean loading routine, and choose practical protection for the terrain you actually visit. Explore pet-first travel and care ideas at JustForAuto before packing for the next highway, trailhead, or weekend outside.
Do I need to re-pack between highway and trail?
You should not. If something needs moving to change mode, it is in the wrong place. The test: pull over on a gravel shoulder and get one item out of every zone without unloading anything.
What should change after a wet or dusty day?
Anything absorbent. Towels, bedding and the dog’s pad get dried or swapped before the next leg — a damp car at altitude in the evening is cold and smells like a wet dog by day two.
Read next: six hours to the coast · a city dog’s first trail · Explore More. Start from Drive Together for the everyday rides, or the Gear Lab to compare before you buy.